
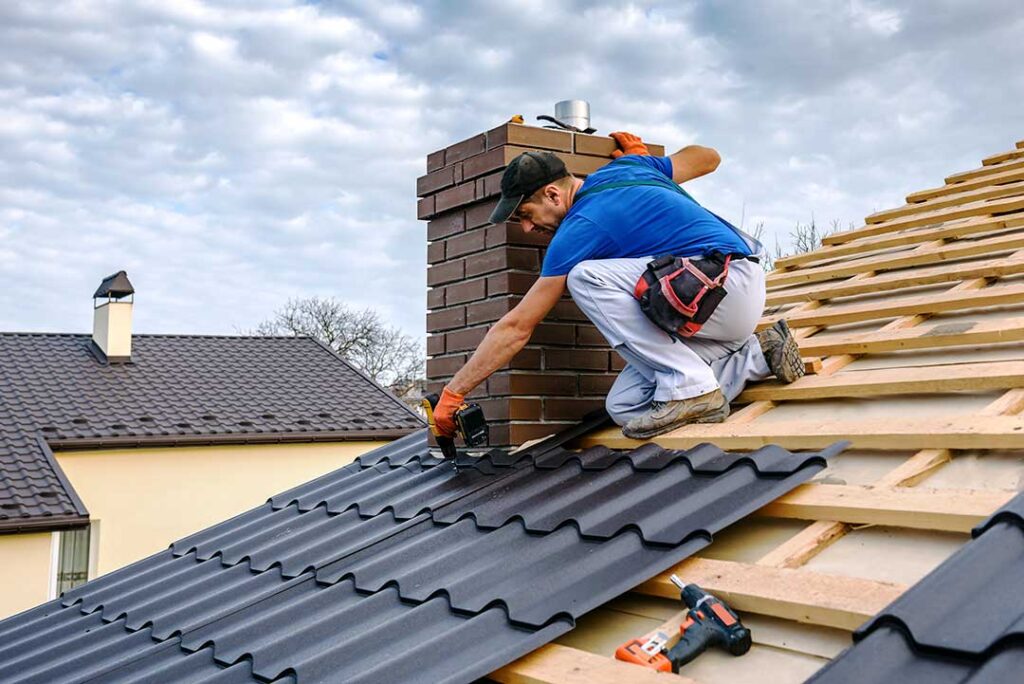
Roofing work is more than placing new shingles over an old roof. A sound project usually includes inspection, planning, removal or preparation, repairs to the roof structure, installation of protective layers, ventilation details, and a careful final cleanup. Understanding the sequence helps residents recognize what should happen and why each stage matters.
What happens before roofing work begins?
The process starts with an evaluation of the existing roof and the building below it. The visible covering is only one part of the roofing system, so an inspection should consider several components:
- Shingles, metal panels, slate, or another exterior covering
- Flashing around chimneys, walls, skylights, and roof penetrations
- Underlayment beneath the exterior material
- Roof decking, usually plywood or oriented strand board
- Rafters or trusses that support the roof
- Eaves, valleys, ridge areas, gutters, and ventilation openings
- Attic insulation, moisture, staining, and signs of condensation
Some problems are obvious from the ground, such as missing shingles, sagging areas, or exposed underlayment. Others may only be visible from the attic or during close inspection. Water stains do not always appear directly below the leak because moisture can travel along decking, framing, or insulation.
A roofing inspection should also distinguish between a repairable problem and a system that has reached the end of its useful service life. Replacing a few damaged shingles may be appropriate when the surrounding materials remain sound. Widespread granule loss, repeated leaks, brittle coverings, or deteriorated flashing may point to broader work.
How is the roofing project planned?
Planning determines the materials, work area, timing, and code requirements. In Ithaca, winter snow, freeze-thaw cycles, rain, wind, and periods of rapid temperature change can all affect roof performance. A plan should account for weather protection during the project and for details that reduce the chance of ice-related water backup.
The building’s age and design also matter. Older homes may have multiple roof layers, irregular framing, historic materials, limited attic ventilation, or additions built at different times. Low-slope sections, enclosed porches, dormers, and roof-to-wall intersections often require different installation methods than a simple pitched roof.
Before work begins, property owners should clarify:
- Which roof sections are included
- Whether existing materials will be removed
- How damaged decking will be handled
- How flashing and ventilation will be addressed
- How open roof areas will be protected overnight
- Whether permits or inspections apply
- How gutters, exterior fixtures, and landscaping will be protected
Permit requirements can vary by jurisdiction and by the scope of work. In Ithaca, building permit information is handled through the local building division, while properties in surrounding jurisdictions may follow different procedures. Checking requirements before materials arrive can prevent delays.
What happens during roof removal?
For a replacement, the old roofing material is generally removed in controlled sections. This exposes the underlayment and roof deck so damaged areas can be identified rather than covered.
Removal may reveal:
- Soft or rotted decking
- Rusted or improperly installed flashing
- Water-damaged framing
- Old roofing layers that have trapped moisture
- Blocked soffit or ridge ventilation
- Fasteners that have backed out or corroded
Not every dark stain means the decking must be replaced, and not every apparently solid area is structurally sound. Decking should be evaluated for strength, attachment, and moisture damage. Walking on weakened material can be hazardous, particularly around valleys, eaves, and previous leak locations.
Old roofing waste should be collected as the work proceeds. Nails and sharp fragments can fall around the building, so cleanup is not merely cosmetic. It reduces hazards for residents, pets, neighbors, and anyone accessing the property.
What protective layers are installed beneath the roof covering?
The roof covering is not the only defense against water. Underlayment provides a secondary layer over the roof deck, while specialized membranes may be used in areas vulnerable to wind-driven rain or ice backup.
Ice protection is especially relevant in climates with repeated freezing and thawing. Snow can melt during sunny or warmer periods, then refreeze near colder eaves. If water backs up beneath the exterior covering, it can reach the decking and interior spaces. Properly installed eave protection, flashing, and ventilation work together to reduce this risk.
Flashing is used wherever the roof meets another surface or where water could collect. Common locations include:
- Chimneys and masonry walls
- Plumbing vents
- Skylights
- Valleys
- Sidewalls and headwalls
- Dormers and roof additions
- The edges around roof penetrations
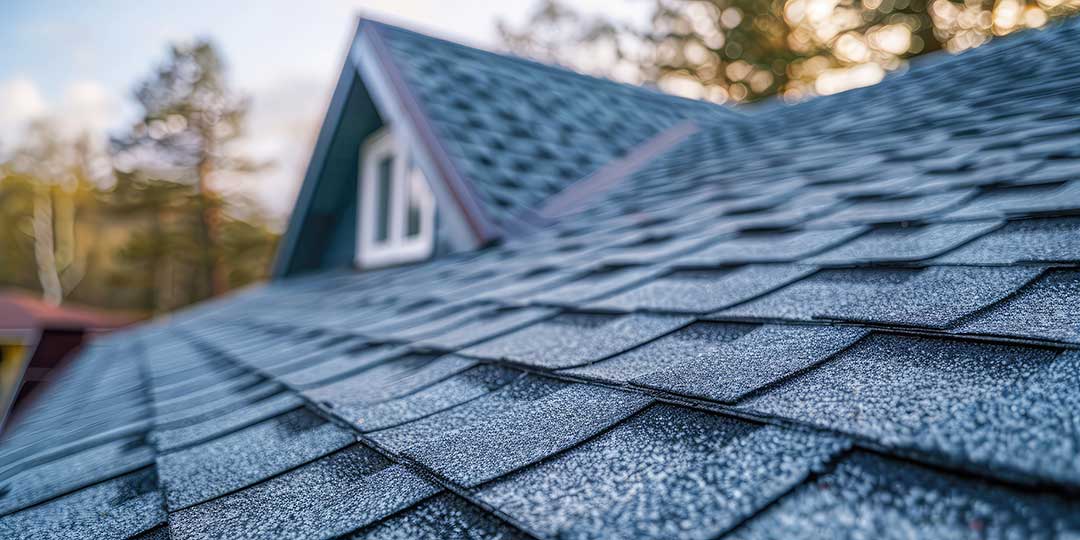
Flashing should direct water onto the roof surface or into a drainage path. Sealant alone is not a substitute for correctly shaped and integrated flashing.
How is the new roof covering installed?
Installation follows the requirements of the selected material and the roof’s slope. Asphalt shingles, metal panels, slate, wood products, and low-slope membranes each have different fastening, overlap, ventilation, and weather limitations.
For shingle roofing, installation commonly progresses from the lower edge upward. Starter materials protect the first course, while field shingles overlap to shed water. Valleys and roof edges receive additional attention because they handle concentrated runoff and stronger wind exposure.
Fasteners must be placed correctly. A nail that is too high, too low, overdriven, or missed entirely may weaken the installation or create a path for water. Materials also need suitable temperatures for proper sealing and handling. Cold conditions can slow the bonding of some shingles, while wet or windy conditions can make roof work unsafe and increase the chance of installation errors.
Ventilation is part of the roof system, not an optional finishing touch. Intake openings near the eaves and exhaust openings near the ridge or upper roof areas help manage heat and moisture in the attic. Blocking intake ventilation with insulation or failing to provide a balanced air path can contribute to condensation, ice buildup, and premature material deterioration.
What should happen at the end of the project?
A final review should check the roof surface, penetrations, flashing, edges, valleys, ventilation openings, and drainage. The attic may also be inspected for daylight where it should not be visible, exposed fasteners, moisture, or disturbed insulation.
Cleanup should include the roof, gutters, walkways, planting areas, and nearby surfaces. Magnetic collection tools can help locate stray steel fasteners, but property owners should still visually inspect areas used by children and pets.
Roofing work is not complete simply because the new covering is visible from the street. The quality of the underlayment, flashing, decking repairs, ventilation, fastening, and cleanup often determines how well the system performs through Ithaca’s wet seasons, winter snow, and repeated freeze-thaw conditions.
Which roofing problems require prompt attention?
A small leak can become a larger building problem if moisture reaches insulation, ceilings, electrical components, or framing. Prompt attention is warranted for:
- Water entering during rain or melting snow
- Sagging roof planes or ceilings
- Missing material after high winds
- Exposed underlayment or roof decking
- Large areas of moss, algae, or deteriorated covering
- Damaged chimney or wall flashing
- Ice buildup associated with interior leaks
- Visible daylight through the roof deck
Roof surfaces are fall hazards, and icy conditions add another layer of danger. Residents should avoid climbing onto a roof to investigate damage. From the ground or attic, useful observations can be recorded without disturbing the roofing system or creating additional risk.
