
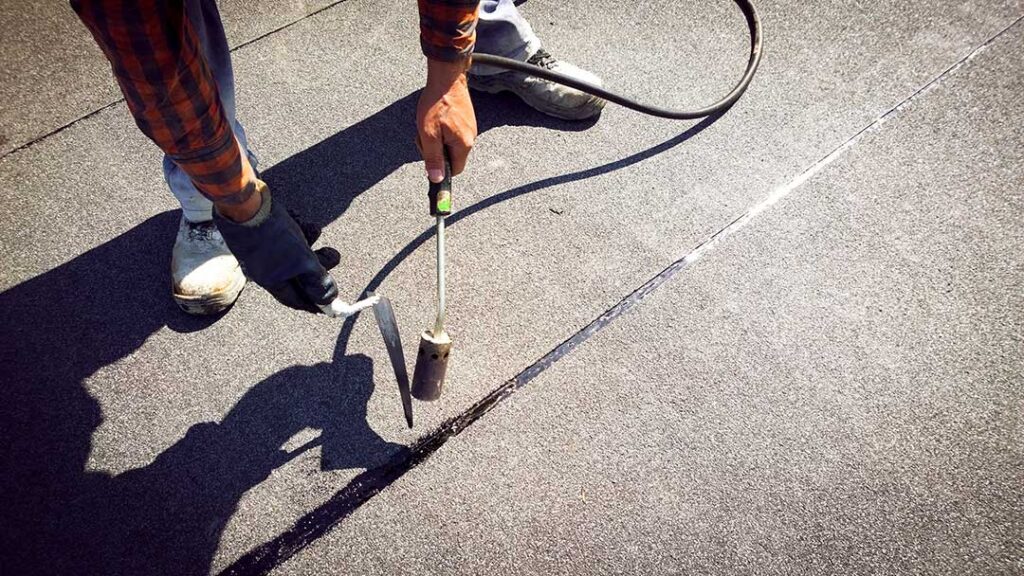
Roof penetrations are any places where a pipe, vent, chimney, skylight, antenna, conduit, or other object passes through the roof surface. These locations need more than a bead of caulk. A reliable seal combines properly layered flashing, compatible underlayment, secure fasteners, and carefully applied sealant.
For homes in Ithaca, NY, roof penetrations face repeated exposure to rain, snow, ice, wind, and freeze-thaw movement. A detail that appears sound in dry weather can begin leaking after winter expansion, spring runoff, or wind-driven rain.
What makes a roof penetration watertight?
A watertight penetration uses layers that direct water downhill instead of trapping it around the opening. The roof covering is only the outermost layer; the flashing and underlayment beneath it provide much of the protection.
The basic arrangement usually includes:
- A properly sized opening around the pipe or object
- A flashing boot, metal flashing, curb, or other approved flashing component
- Underlayment integrated around the penetration
- Roofing material installed in a shingle-like, uphill-over-downhill sequence
- Fasteners placed where they will remain protected
- Sealant used at specific joints, edges, or exposed fasteners
Sealant is helpful, but it should not be treated as the primary waterproofing system. Caulk can crack, shrink, detach, or lose flexibility. Flashing and drainage should do most of the work.
Which roof penetrations are most likely to leak?
Plumbing vent pipes are common trouble spots because their rubber or flexible collars age faster than the surrounding shingles. Cracking, splitting, or shrinking around the pipe can allow water into the roof deck.
Other frequent leak sources include:
- Chimneys and masonry flues
- Bathroom and kitchen exhaust vents
- Skylights
- Roof windows
- Satellite or antenna mounts
- Electrical conduits
- Furnace or water-heater vent pipes
- Attic ventilation equipment
- Solar-related attachments
- Low-profile roof curbs and mechanical equipment
Large penetrations require extra attention because they interrupt more of the roof’s drainage path. Under New York residential code provisions, a chimney or roof penetration wider than 30 inches generally needs a cricket or saddle on the uphill side to divert water around it.
How should flashing be installed around a penetration?
Flashing should be layered so that water always flows over the layer below it. The lower or downslope portion generally goes over the roofing underlayment or shingles beneath the penetration. The upper or upslope portion should be integrated beneath the roofing material above the penetration.
This arrangement is sometimes described as shingle fashion. Each higher layer overlaps the lower layer, much like shingles on the roof itself.
For a plumbing vent with a flashing boot, proper installation typically involves:
1. Removing enough surrounding roofing material to expose the area being repaired.
2. Checking the roof deck for rot, staining, soft spots, or damaged sheathing.
3. Sliding the upper portion of the flashing under the shingles above the pipe.
4. Leaving the lower portion over the shingles below the pipe.
5. Securing the flashing with appropriate roofing fasteners.
6. Replacing or cutting shingles so they fit closely around the flashing.
7. Sealing only the exposed joints or fastener locations that require it.
The exact method depends on the roofing material. Asphalt shingles, standing-seam metal, slate, and low-slope membranes each require different flashing details.
What type of sealant should be used?
The sealant must be compatible with both the roofing material and the flashing. Roofing products are not interchangeable, and some solvents or petroleum-based materials can damage membranes, plastics, or rubber components.
A suitable sealant should generally be:
- Designed for exterior roof or flashing use
- Compatible with the specific roofing membrane or shingle system
- Flexible enough to tolerate seasonal movement
- Capable of adhering to clean, dry surfaces
- Resistant to water, ultraviolet exposure, and temperature changes
Avoid using ordinary interior caulk, expanding foam, or a random household adhesive around a roof penetration. Expanding foam is not a substitute for flashing, and it can trap moisture or interfere with drainage.
Read the product instructions before applying anything to rubber pipe boots, synthetic underlayment, metal flashing, or membrane roofing. Compatibility matters more than the label’s general claim that the product is waterproof.
Can an existing roof penetration be sealed from the outside?
A small, accessible defect may be temporarily improved from the exterior, but surface caulk alone is rarely a durable repair. If water is entering around a penetration, the visible gap may not be the actual failure point.
The underlying problem could be:
- A cracked flashing boot
- Missing step flashing
- Exposed or improperly placed fasteners
- A lifted shingle
- Deteriorated underlayment
- Rot around the roof opening
- A blocked drainage path above the penetration
- A failed chimney counterflashing joint
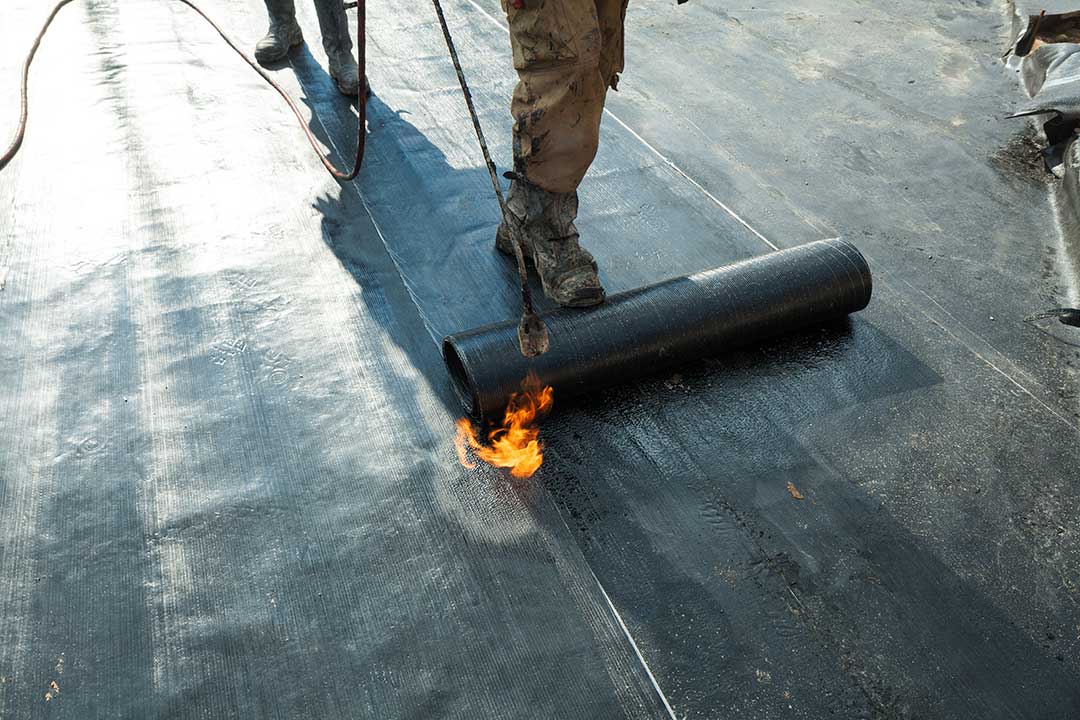
Adding more sealant over old, dirty, or loose material often hides the problem without stopping it. A lasting repair usually requires cleaning the area, removing failed materials, inspecting the layers underneath, and rebuilding the flashing detail as needed.
How does Ithaca weather affect roof penetration repairs?
Seasonal conditions influence both the failure and the repair process. Snow and ice can remain around roof projections, while freeze-thaw cycles cause small cracks and gaps to open and close repeatedly. Heavy rain in spring and fall can also expose weak drainage details.
Sealants and membranes generally need suitable surface and air temperatures to bond properly. Applying them to wet, icy, dusty, or frozen surfaces can lead to early failure. Cold-weather products may have specific installation limits, but those instructions still need to be followed carefully.
After major snow or ice events, residents may notice staining around ceilings, damp insulation, or drips that appear some distance from the actual penetration. Water can travel along rafters, roof decking, insulation, or framing before becoming visible indoors.
What are the warning signs of a failed penetration seal?
Inspect roof penetrations from the ground when possible, but avoid climbing onto a wet, icy, steep, or unfamiliar roof. Warning signs include:
- Dark stains or peeling paint on ceilings
- Damp insulation in the attic
- Soft or discolored roof decking
- Rusted fasteners or metal flashing
- Cracked rubber collars
- Missing shingles near a vent or chimney
- Lifted flashing edges
- Water marks that worsen after wind-driven rain
- A musty odor near the attic or upper floors
A leak that appears only during snowmelt may indicate water entering higher on the roof and moving beneath the covering. It does not necessarily mean the nearest visible penetration is the source.
When is professional evaluation justified?
Roof work becomes hazardous when surfaces are steep, wet, icy, brittle, or difficult to access. Specialized evaluation is also warranted when a chimney, skylight, metal roof, slate roof, electrical equipment, or structural damage is involved.
Professional assessment is particularly appropriate when:
- The roof deck feels soft or spongy
- Water is reaching electrical wiring or fixtures
- A chimney is pulling away from the roof
- Several penetrations are leaking
- The leak continues after a recent repair
- Interior damage is spreading
- The roof contains older or fragile materials
The practical standard is simple: the penetration should shed water through layered materials, remain stable during seasonal movement, and avoid relying on exposed caulk as its only defense.
