
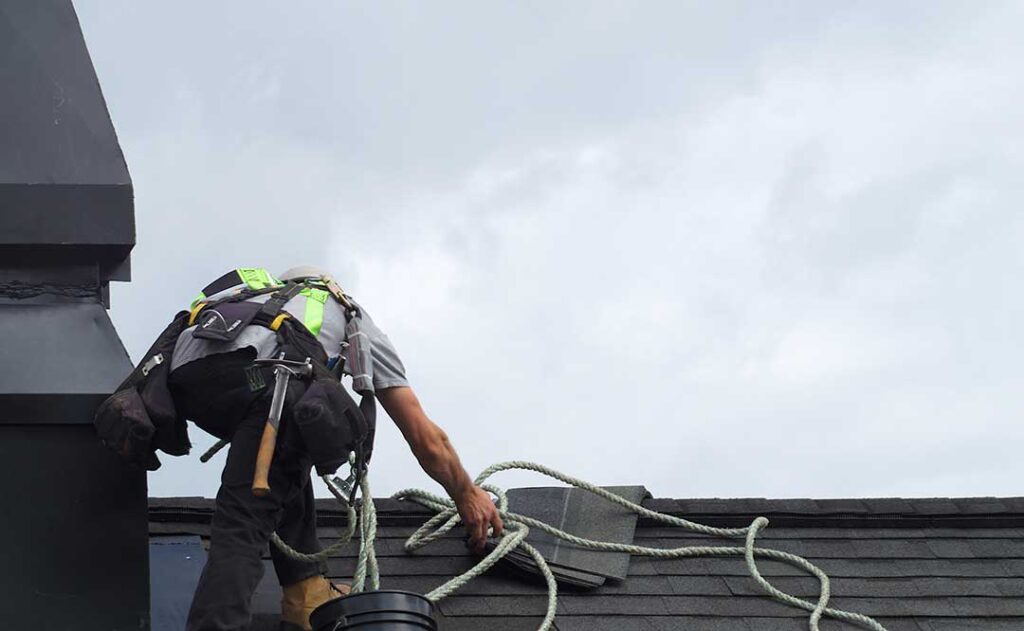
Roof penetrations are any objects or openings that pass through the roof surface, such as plumbing vents, exhaust fans, chimneys, skylights, satellite mounts, and electrical conduits. They are also among the most common places for leaks because they interrupt the roof’s continuous water-shedding surface.
In Ithaca, NY, penetrations must withstand more than ordinary rainfall. Freeze-thaw cycles, winter snow, wind-driven precipitation, and ice buildup can expose weak flashing or deteriorated sealant quickly. Proper sealing depends on layered protection—not a bead of caulk alone.
What makes a roof penetration leak?
A penetration usually leaks because water is getting around, under, or behind the flashing assembly. Sealant failure is only one possible cause.
Common problems include:
- Cracked, shrunken, or missing sealant
- A damaged rubber boot around a plumbing vent
- Flashing installed over the wrong roofing layer
- Exposed fasteners that were not properly sealed
- Roofing material cut too tightly or too widely around the opening
- Ice, snow, or wind lifting the flashing
- Rust or corrosion in metal components
- Water entering higher on the roof and appearing near the penetration
Water can travel along roof decking, underlayment, framing, or insulation before becoming visible indoors. A ceiling stain, therefore, may not be directly below the actual failure.
Is caulk enough to seal a roof penetration?
No. Caulk is a supplementary seal, not the primary waterproofing system. A reliable penetration normally uses correctly installed flashing, compatible underlayment, and sealant where the roofing manufacturer or flashing design calls for it.
Flashing works by directing water downhill and around the opening. Sealant helps close small joints and prevent water from entering vulnerable seams. If the flashing is missing, poorly shaped, or installed in the wrong sequence, adding more caulk usually provides only a temporary repair.
Roof cement or generic exterior caulk should not be spread over an entire flashing assembly as a substitute for proper installation. Thick surface coatings can hide deterioration, trap moisture, and make future repairs more difficult.
What materials are typically used?
The correct materials depend on the type of penetration and the roof covering. Common components include:
- Metal flashing made from a corrosion-resistant material
- A factory-made plumbing vent boot
- Self-adhering waterproof membrane around the opening
- Roof underlayment installed in a shingle-like, water-shedding sequence
- Compatible roofing sealant
- Replacement shingles, panels, or other roof covering
- Approved fasteners for the flashing and roof system
Compatibility matters. Some sealants can damage rubber boots, soften roofing materials, or fail when applied to wet or dusty surfaces. Product instructions should be followed for temperature limits, curing time, and acceptable substrates.
How should a roof penetration be sealed?
The exact method varies, but the basic sequence is consistent.
1. Inspect the surrounding roof
Look for lifted roofing, cracked materials, rust, missing fasteners, soft decking, and evidence of water entry. Check the roof area above the penetration as well as the penetration itself.
Repairs should not begin during rain, frost, snow, or strong winds. Wet roofing is slippery, and sealants may not bond properly to damp surfaces.
2. Remove only what is necessary
For a repair, carefully remove damaged roofing and old sealant from the affected area. Avoid tearing the underlayment or bending flashing that is intended to remain.
If the flashing is badly corroded, split, distorted, or too small for the penetration, replacing the entire flashing component is usually more dependable than covering it.
3. Repair the roof deck if needed
A penetration cannot be sealed reliably over rotted, soft, or weakened decking. Damaged wood should be replaced before underlayment and flashing are installed.
This step is especially important if a leak has been present through multiple seasons. Moisture can damage structural wood even when the interior stain looks minor.
4. Install the waterproof underlayment
Self-adhering membrane is commonly used around vulnerable roof openings. It should be integrated with the existing underlayment so water is directed over, rather than behind, the lower layers.
The membrane is generally installed first on the downhill side, then along the sides, and finally at the upper side of the penetration. The upper piece should overlap the lower pieces in a water-shedding arrangement. The membrane should not block designed drainage paths or cover ventilation openings.

5. Place the flashing in the correct order
Flashing must work with the roof covering. For shingle roofs, the lower portion of a flashing unit typically sits over the shingles below the penetration, while the upper portion is integrated beneath the shingles above it. Side pieces, step flashing, or counterflashing may be needed depending on the shape.
The installation sequence is critical. A flashing piece placed entirely on top of the roof may look sealed but can allow water to run underneath during heavy rain or melting snow.
Large penetrations, such as chimneys or wide roof structures, may need a raised cricket or saddle on the uphill side. This diverts water and reduces the chance of snow and ice collecting behind the obstruction.
6. Seal designated joints and fasteners
Apply compatible sealant only where the flashing design requires it. Fastener heads, seams, and small transitions may need sealing, but sealant should not replace proper laps or mechanical attachment.
The surface must be clean and dry. Sealant applied over loose granules, rust, frost, or old brittle material is unlikely to last.
7. Restore the roof covering
Replacement shingles or other roofing materials should match the existing system and be secured according to the manufacturer’s instructions. Cuts should be neat, with enough clearance for the flashing but not so much that water can run freely around the opening.
A finished repair should leave the roof surface smooth enough for water to drain without creating a pocket or channel toward the penetration.
How are common penetrations sealed differently?
Plumbing vent pipes
These usually use a metal or molded boot that fits around the pipe. The boot must remain flexible and tightly fitted. A cracked rubber collar is generally replaced rather than coated with repeated layers of sealant.
Chimneys and masonry structures
Chimneys often require base flashing, step flashing, and counterflashing. Mortar joints and masonry surfaces can move differently from roofing materials, so a surface bead alone is not a durable solution.
Skylights
Skylights require a complete flashing system, including sill, side, and head flashing. Improperly integrated underlayment is a frequent cause of leaks. The skylight manufacturer’s flashing instructions should take priority over generic repair methods.
Exhaust vents
Bathroom and kitchen exhaust vents need both weatherproof exterior flashing and proper duct termination. The duct should discharge outdoors, not into an attic or enclosed roof space, because warm moist air can create condensation and mold problems.
Electrical or communication conduits
These openings should use flashing or approved weatherproof fittings designed for the conduit. Improvised patches around wires can crack as materials expand and contract.
When is a roof penetration repair unsafe to do yourself?
Ground-level inspection and attic observation are generally safer than climbing onto a roof. Roof work becomes hazardous when the surface is steep, wet, icy, moss-covered, fragile, or close to overhead electrical lines.
Extra caution is warranted when the repair involves a chimney, skylight, large opening, structural damage, suspected electrical hazards, or extensive winter ice. A roof penetration that continues leaking after a careful repair may indicate concealed damage or a leak originating elsewhere.
Building work may also need to follow the applicable New York State code, local permit requirements, and roofing manufacturer instructions. Code requirements can vary with the type of building and the scope of the work.
What should homeowners check after sealing?
After the repair has cured and the roof is dry, inspect the area during the next substantial rain if conditions are safe. Look in the attic for damp insulation, darkened wood, drips, or new staining.
Seasonal checks are useful in this climate. Examine penetration boots and exposed flashing in spring and fall, especially after heavy snow, ice, high winds, or repeated freeze-thaw conditions. Early detection is easier when the problem is limited to a damaged boot or small flashing joint rather than the roof deck and interior finishes.
