
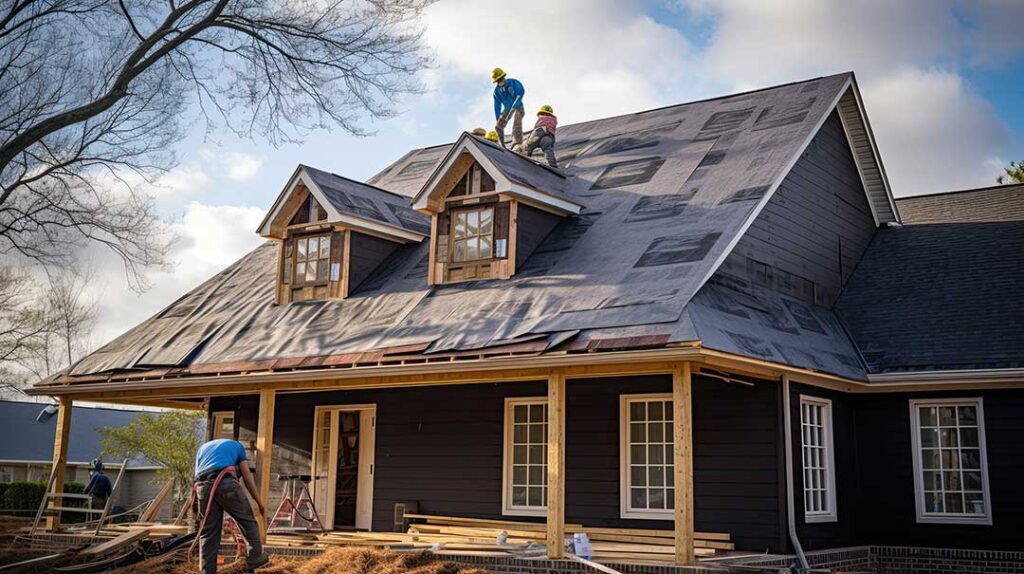
What does the roofing process involve?
A roofing project usually moves through several stages: evaluation, planning, preparation, removal, repairs, installation, cleanup, and final inspection. Understanding the sequence helps homeowners recognize what is normal, what deserves attention, and why a roof replacement may involve more than placing new shingles over old ones.
In Ithaca, roof work must account for snow, freezing temperatures, wind, rain, and repeated freeze-thaw cycles. These conditions can affect shingles, flashing, roof edges, gutters, and the wooden structure beneath the roof covering.
How is a roof inspected before work begins?
The process starts with an assessment of the roof’s visible condition and its underlying structure. An inspection may include the roof surface, attic, flashing, ventilation, gutters, chimney areas, skylights, and places where different roof sections meet.
Common warning signs include:
- Missing, cracked, curled, or loose shingles
- Granules collecting in gutters or downspouts
- Dark stains or damp wood in the attic
- Sagging roof lines
- Rusted or separated flashing
- Water marks on ceilings or upper walls
- Repeated leaks near valleys, chimneys, or roof penetrations
- Ice buildup along roof edges during winter
A roof can appear acceptable from the ground while still having problems beneath the surface. Attic moisture, deteriorated sheathing, or inadequate ventilation may not be visible from outside.
The inspection should also identify whether the roof has one layer of covering or several. Existing layers, roof pitch, access, drainage, and the condition of the deck all influence the work plan.
How is the scope of work determined?
After inspection, the roof is classified as needing maintenance, repair, partial replacement, or full replacement. A small leak does not always mean the entire roof has failed, but the visible leak location may not be the actual entry point. Water can travel along roof decking, rafters, insulation, or framing before appearing indoors.
Planning commonly addresses:
- The type and age of the existing roof covering
- The condition of the roof deck
- Flashing around chimneys, walls, skylights, and vents
- Underlayment and ice-barrier requirements
- Roof ventilation
- Gutters and roof drainage
- Areas where snow or ice tends to collect
- Whether permits or inspections apply
New York’s building requirements address roof coverings, drainage, flashing, ventilation, structural loads, and other parts of the roof assembly. Permit requirements can vary according to the project and local enforcement, so property owners should verify requirements before work begins.
What happens before the old roof is removed?
Preparation protects the house and surrounding property. Workers may cover landscaping, exterior walls, windows, doors, decks, and items near the building. Vehicles and equipment should be positioned so that materials can be moved safely without blocking necessary access.
Indoor preparation is also useful. Vibrations from roof work can loosen dust or small particles in attics and upper rooms. Fragile items should be secured, and attic belongings may need to be covered or temporarily moved.
Weather timing matters in the region. Roofing materials generally require suitable temperatures and dry conditions for proper installation. Snow, ice, heavy rain, and strong winds can delay work or create unsafe conditions.
Why is roof removal important?
During a full replacement, the existing roof covering is commonly removed so the deck and underlying materials can be examined. This step may reveal softened plywood, rotten boards, damaged framing, old fasteners, or areas affected by long-term moisture.
Installing new materials over a damaged base can hide the problem rather than solve it. A roof deck must provide a stable surface for the new roof assembly. Any necessary repairs should be identified before underlayment and roof covering are installed.
Roof removal also allows installers to evaluate older layers. Multiple roof coverings can add weight, conceal defects, and complicate flashing details. Whether an additional layer is allowed depends on the roof’s condition, the materials involved, manufacturer requirements, and applicable code provisions.
What are the main installation steps?
Once the deck is ready, the roof assembly is installed from the base upward. The exact sequence depends on the material, but many projects include these components:
1. Roof deck repairs
Damaged or weakened sheathing is replaced or repaired.
2. Edge protection
Metal edging and related components help control water at eaves and rakes.
3. Ice-barrier and underlayment installation
These layers provide secondary protection beneath the roof covering. They are especially relevant in climates with snow and repeated freezing and thawing.
4. Flashing installation
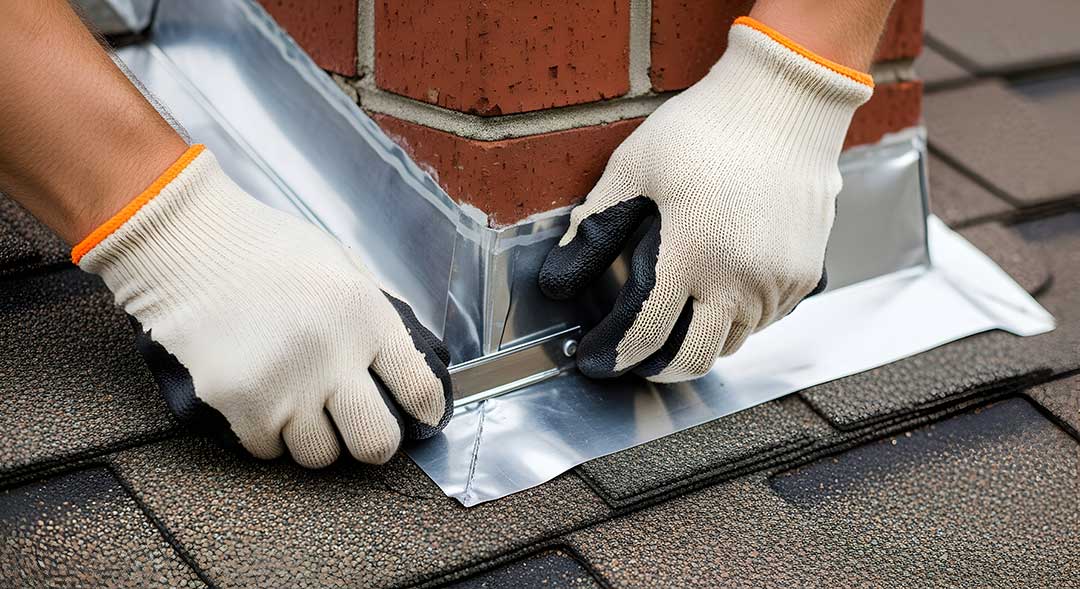
Flashing directs water away from chimneys, walls, valleys, vents, skylights, and other interruptions in the roof surface.
5. Ventilation work
Intake and exhaust ventilation help manage heat and moisture in the attic. Ventilation does not replace insulation, air sealing, or proper flashing.
6. Roof-covering installation
Shingles, panels, slate, or another selected material are installed according to the roof design and product instructions.
7. Ridge, hip, valley, and penetration details
These areas require careful alignment and fastening because they receive concentrated water flow or wind exposure.
The roof covering is only one part of the system. A durable roof depends on the interaction of the deck, underlayment, flashing, ventilation, drainage, and exterior covering.
How are snow and ice handled in Ithaca?
Snow and ice create several roof-related concerns. Ice dams can form when heat escapes into a cold attic, melts snow on warmer roof sections, and allows water to refreeze near colder eaves. Poor insulation, air leakage, limited ventilation, and uneven roof exposure can contribute to the problem.
Roof design and maintenance can reduce risk, but no roof is completely immune to severe weather. Homeowners should avoid climbing onto icy roofs or using sharp tools to remove ice, since both actions can damage the roof and create serious safety hazards.
Gutters and downspouts also need attention. Leaves, ice, and debris can restrict drainage, allowing water to back up near roof edges or overflow against exterior walls.
What should be checked after installation?
A final review should confirm that the roof covering is properly aligned and fastened, flashing is installed at vulnerable areas, exposed materials are secured, and drainage paths are clear. The surrounding property should be checked for loose nails, scraps, packaging, and damaged landscaping.
Inside the home, attic areas and ceilings can be examined for signs of moisture. Some minor movement or settling may occur after construction, but active leakage, exposed fasteners, missing materials, or visibly loose flashing should be addressed promptly.
Keep records of the roof’s installation date, materials, repairs, and maintenance observations. This information helps with future inspections and makes it easier to understand the roof’s age and service history.
When does a roof need repair instead of replacement?
A repair may be reasonable when damage is limited to a small area and the surrounding roof remains sound. Examples can include isolated flashing failure, a few damaged shingles, a localized puncture, or a small section of deteriorated decking.
Replacement becomes more likely when leaks are widespread, the roof covering is near the end of its service life, multiple layers are present, the deck is extensively damaged, or repeated repairs no longer address the underlying problem.
The key question is not simply how a roof looks from the ground. It is whether the complete roof system can continue protecting the building through the wet, snowy, and freezing conditions common in Ithaca.
